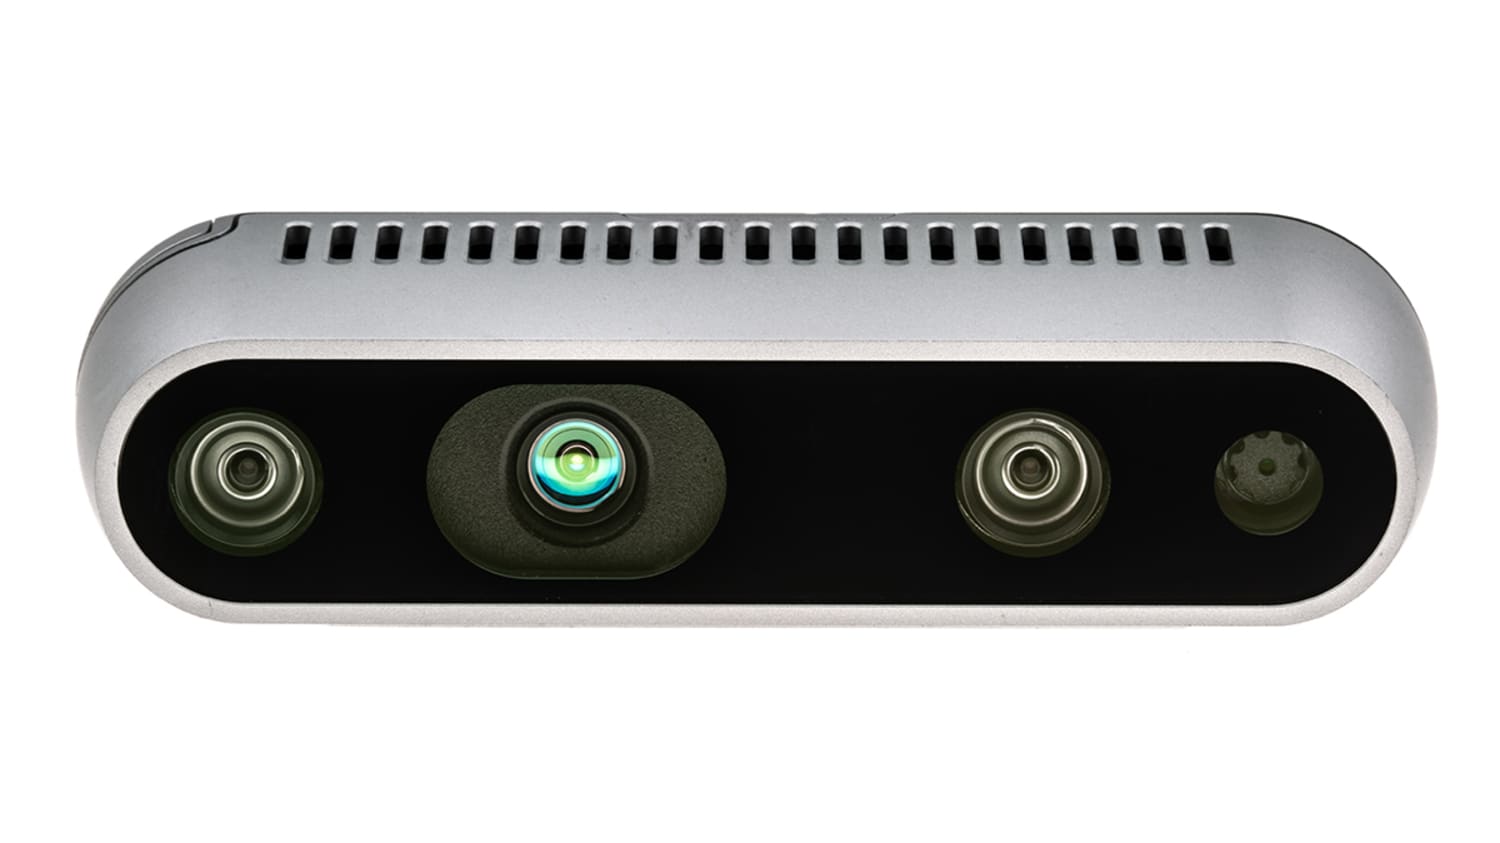
Appendix 01 - Realsense camera
Robotics II
Poznan University of Technology, Institute of Robotics and Machine Intelligence

Laboratory 6: Appendix - Realsense depth camera
Back to the course table of contents
The goal of the course is to develop some skills in using the Realsense depth camera.
Pre-work activities
NOTE: During downloading/installing, you can read introduction to depth cameras and familiarize yourself with the Realsense camera.
Add privileges to screen:
bash xhost +local:rootCreate realsense container:
bash docker run --gpus all -it \ --privileged --name realsense-2-container -p 8084:8084 \ -e DISPLAY=$DISPLAY -e QT_X11_NO_MITSHM=1 \ -v /tmp/.X11-unix:/tmp/.X11-unix -v /dev:/dev:ro \ librealsense/librealsense bashInstall some tools:
bash apt update && apt install wget unzip python3-pip vimAnd missing libraries:
bash apt install ffmpeg libsm6 libxext6Be sure that you have installed the
opencv-pythonlibrary:bash pip3 install opencv-python
Introduction
Depth cameras (RGB-D) allow you to obtain information about the actual distance of objects from the sensor and combine this information with the RGB image indicating the corresponding pixels. These cameras are mainly used in indoor environments: robotics (video) and augmented reality (video).
RGB-D images can be obtained in 3 main ways:
use a stereovision camera, in which the distance is usually estimated from the offsets between two, calibrated cameras;
use structured light - generally an infrared sensor is used, which projects a known pattern and sensor into the camera;
use a Time Of Flight (ToF) sensor, also known as LIDAR - this sends a pulse of light of known wavelength and measures the time it takes to get a response.

During the course, we will use the Intel® RealSense™ D435 camera, which is equipped with an RGB camera, an IR sensor and a stereovision camera with a base of 5 cm, allowing accurate depth measurements between 0.3 m and 3.0 m and a maximum (manufacturer-declared) range of 10 meters.
Tasks
Task 0
Download scripts and unpack them:
wget "https://chmura.put.poznan.pl/s/DmjyH7KYmlOxW1n/download" -O depth_realsense_course.zip

unzip depth_realsense_course.zip

cd scripts/
Run the script
01_opencv_pointcloud_viewer.pyto visualize the point cloud from the camera. Check how the point cloud transforms using the keys:d- Cycle through decimation values,z- Toggle point scaling,c- Toggle color source.
Task 1
Note: Try replacing the classic for loop over each pixel by matrix operations. Every image in python is a Numpy matrix.
Using the template of the program 02_background.py,
prepare a program which, based on the depth image, extracts your posture
from the background and inserts it into its own image. An example of the
program’s effect is shown in the video.
Specifically, the program should:
load your own image using the OpenCV library and align its size to that of the depth camera image (function
read_background_image);complete the code in the
depth_filterfunction to reduce outliers in the depth image.Suggested steps:
Eliminate inaccurate background measurements. The range of the sensor according to the documentation is a maximum of 10 m, but the accuracy of the measurements drops significantly above 3 m. To do this, replace depth values greater than the selected background threshold (e.g., >2000) with the value of this threshold (e.g., 2000).
Get rid of missing background measurements. When the sensor has not read a measurement in a region or this measurement is inaccurate, it assigns such a measurement a value of 0. To do this, replace depth values equal to zero with the accepted background value (e.g., 2000).
Smooth out the measurements. Depth measurements may show some subtle differences due to sensor accuracy and introduce noise. For this purpose, use a median filter to get rid of it. Use the
cv2.medianBlurfunction with a kernel size of 5.
Write an add_background function that will paste a human figure into the selected background based on the depth image.
Tips:
Create a copy of the background image so as not to overwrite the original image.
Create a binary mask using the depth image and use it respectively on the background/camera RGB image.
Task 2
Using the program skeleton 03_paint.py and the
depth_filter function from the previous task, prepare a
program that will keep track of the nearest point in the image and
“draw” points when the spacebar is pressed. An example of the program’s
effect is shown in the video.
Detailed tasks:
move the
depth_filterfunction from the previous taskusing the
cv2.minMaxLocfunction, find the coordinates and value of the nearest point of the point (from the depth image) to the camera;apply the
+pointer (vertical and horizontal line) to the image at the location of the nearest point; use thecv2.linefunction two times;near the
+pointer, annotate in text the depth value at that point; use thecv2.putTextfunction;(optional) write code to draw red circles of radius 5 when the spacebar was pressed (or the spacebar can toggle the drawing mode). Use the
cv2.circlefunction. Tip. You can create an empty mask filled with zeros (e.g. zeros) outside the loop, on which you draw circles with a value of 255. Then use it to apply color to the RGB image from the camera.
As a result, upload a two screenshot:
- from task 1 - the result of the program with your image in the background;
- from task 2 - the result of the program with the drawing of the nearest point and the depth value.